September, Part 2

alpine

Hi everyone! I hope this month is treating you well so far. I spent Labor Day weekend up in the Sierra Nevada mountains, bidding a fond farewell to summer. Fall is definitely in the air now, and I think my number one task right now is getting used to my new routine. And remember when I said this newsletter had two parts? Well, it's true. Lots of fun stuff going on. So I'm back with September, the sequel.

Videos! Pop-opens! Palm trees! Magazines!

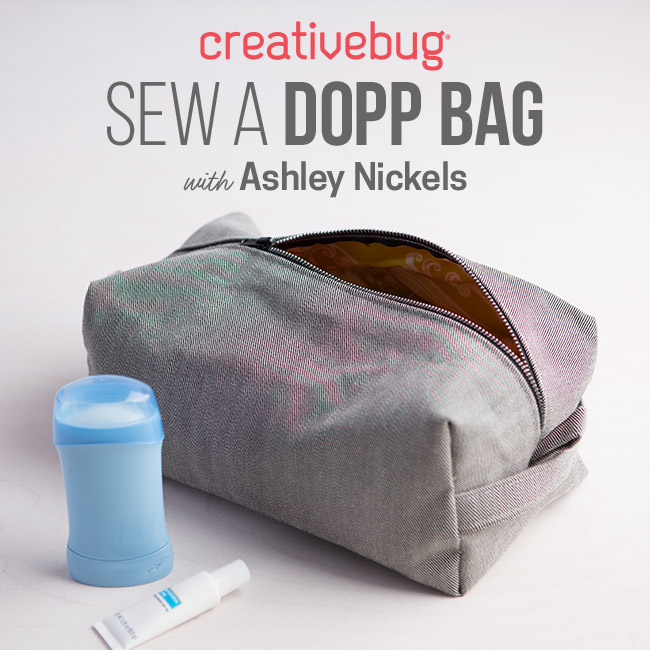
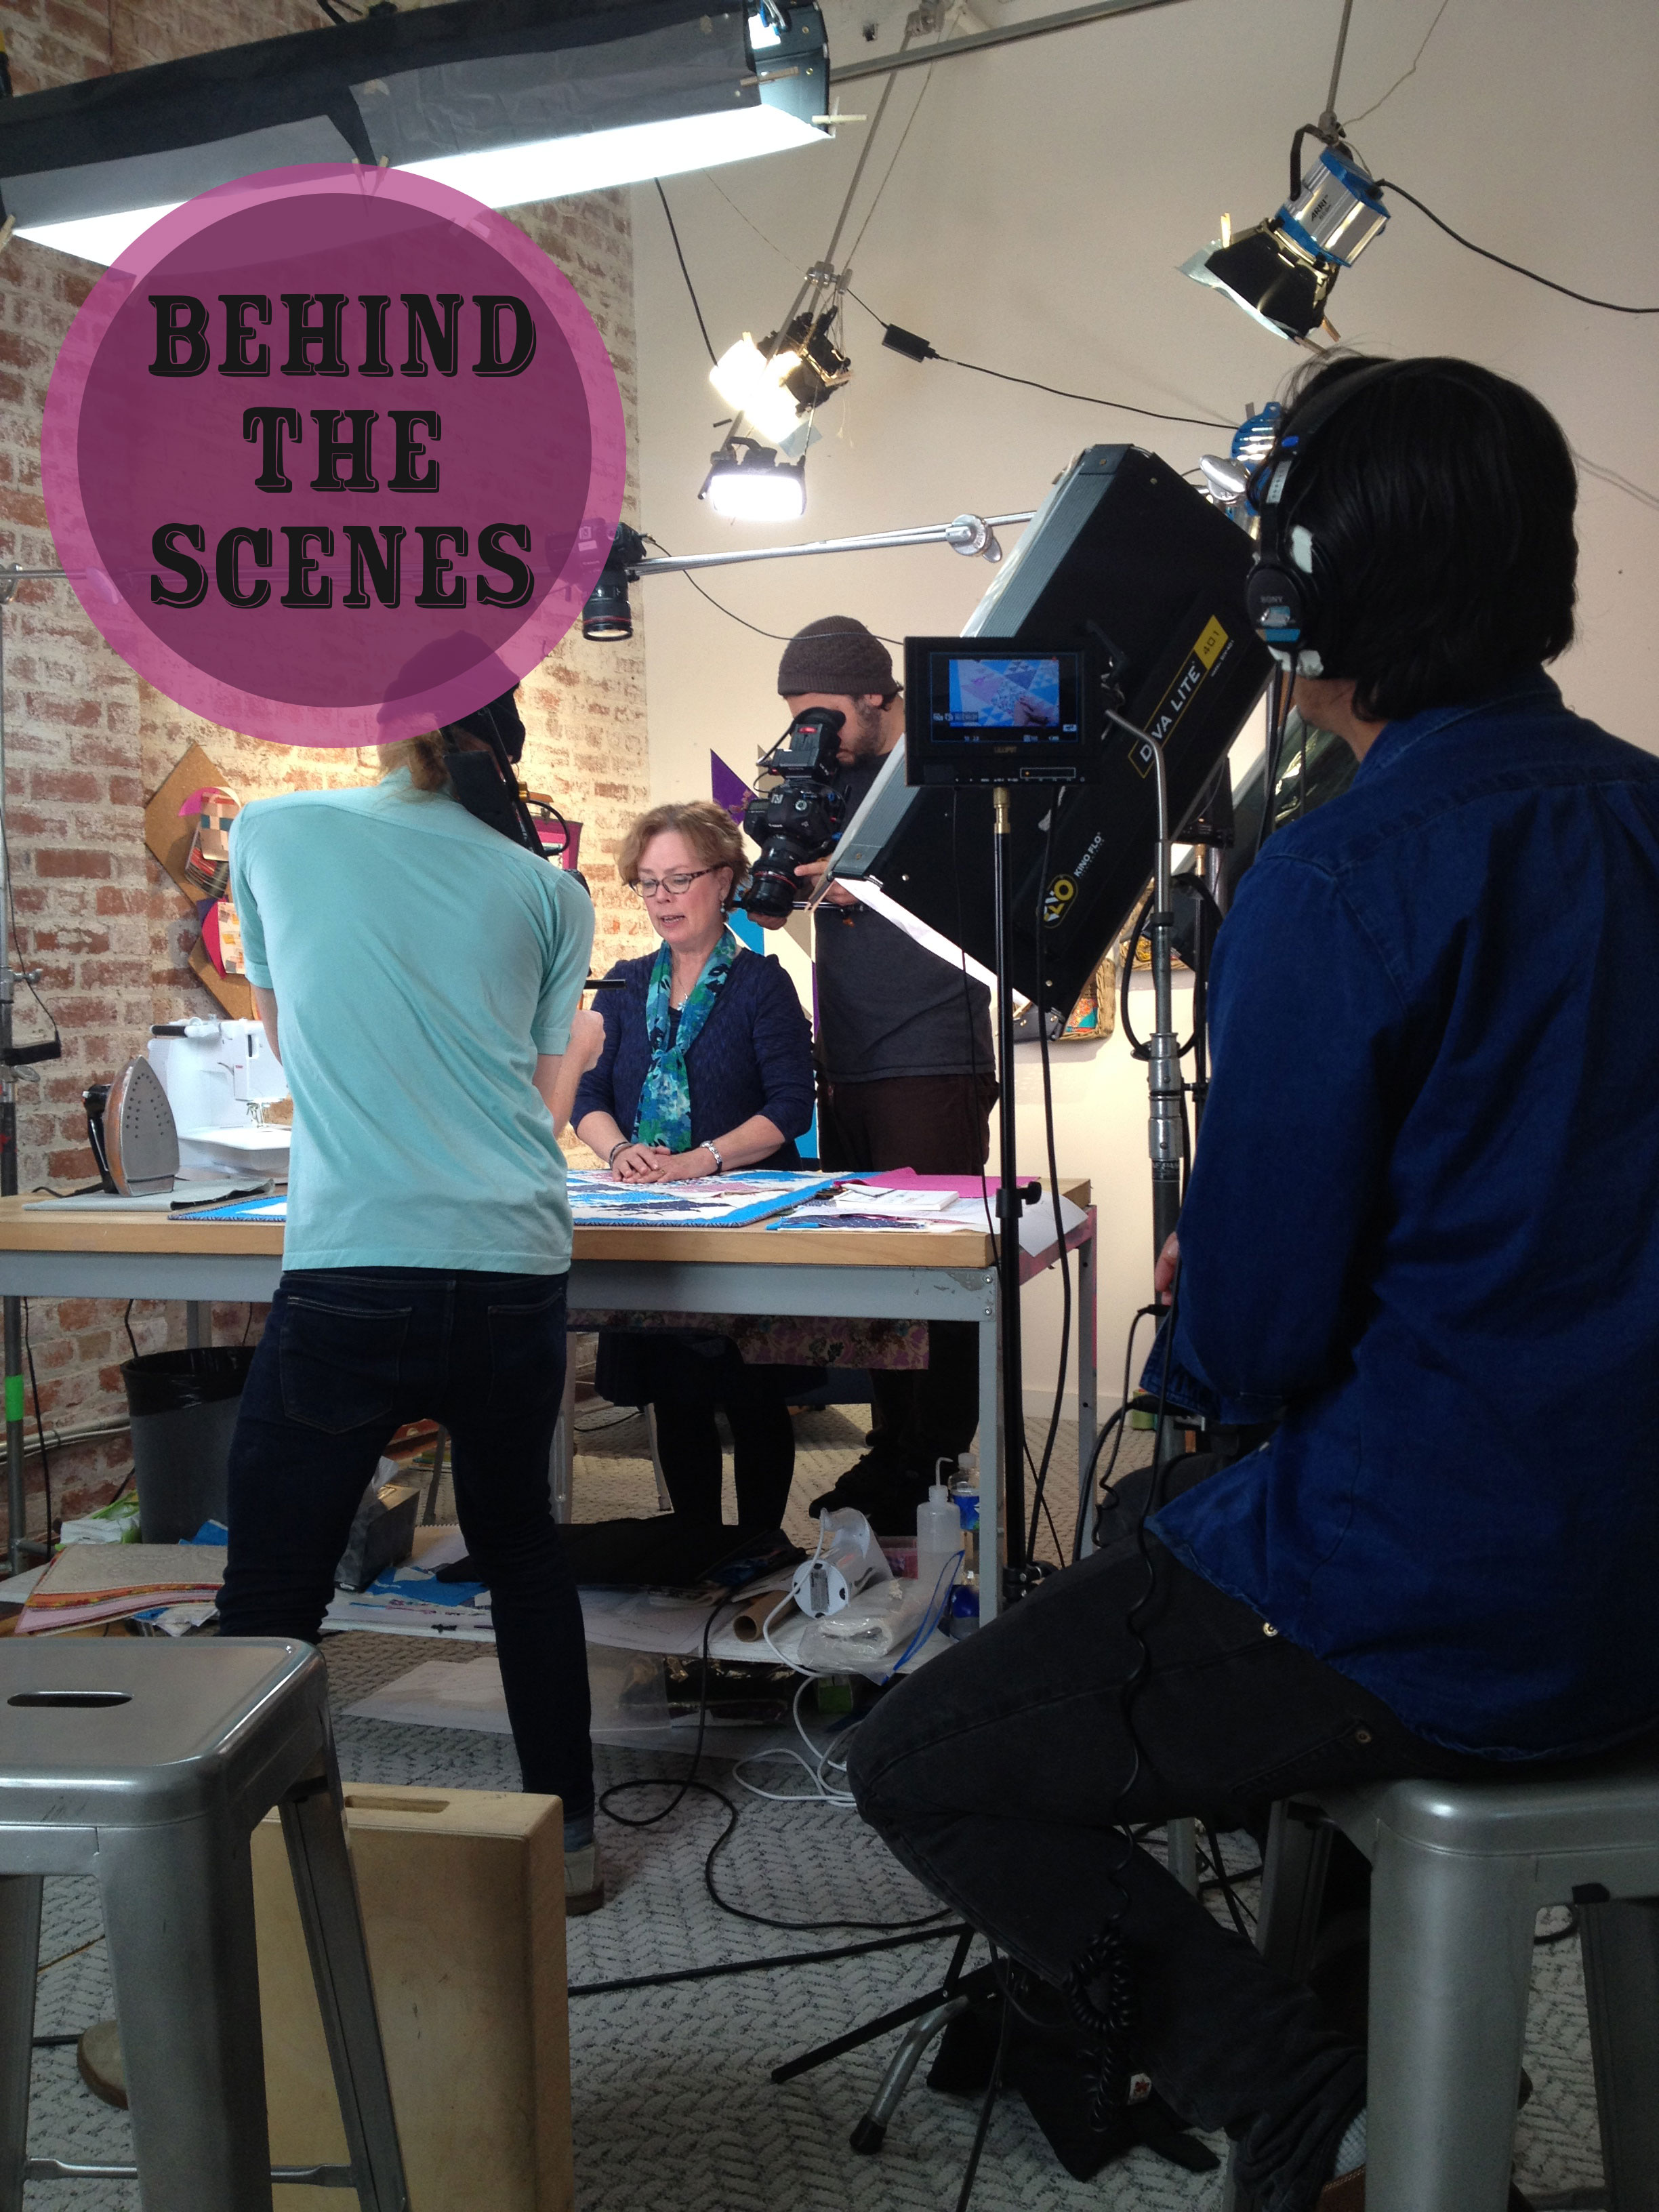
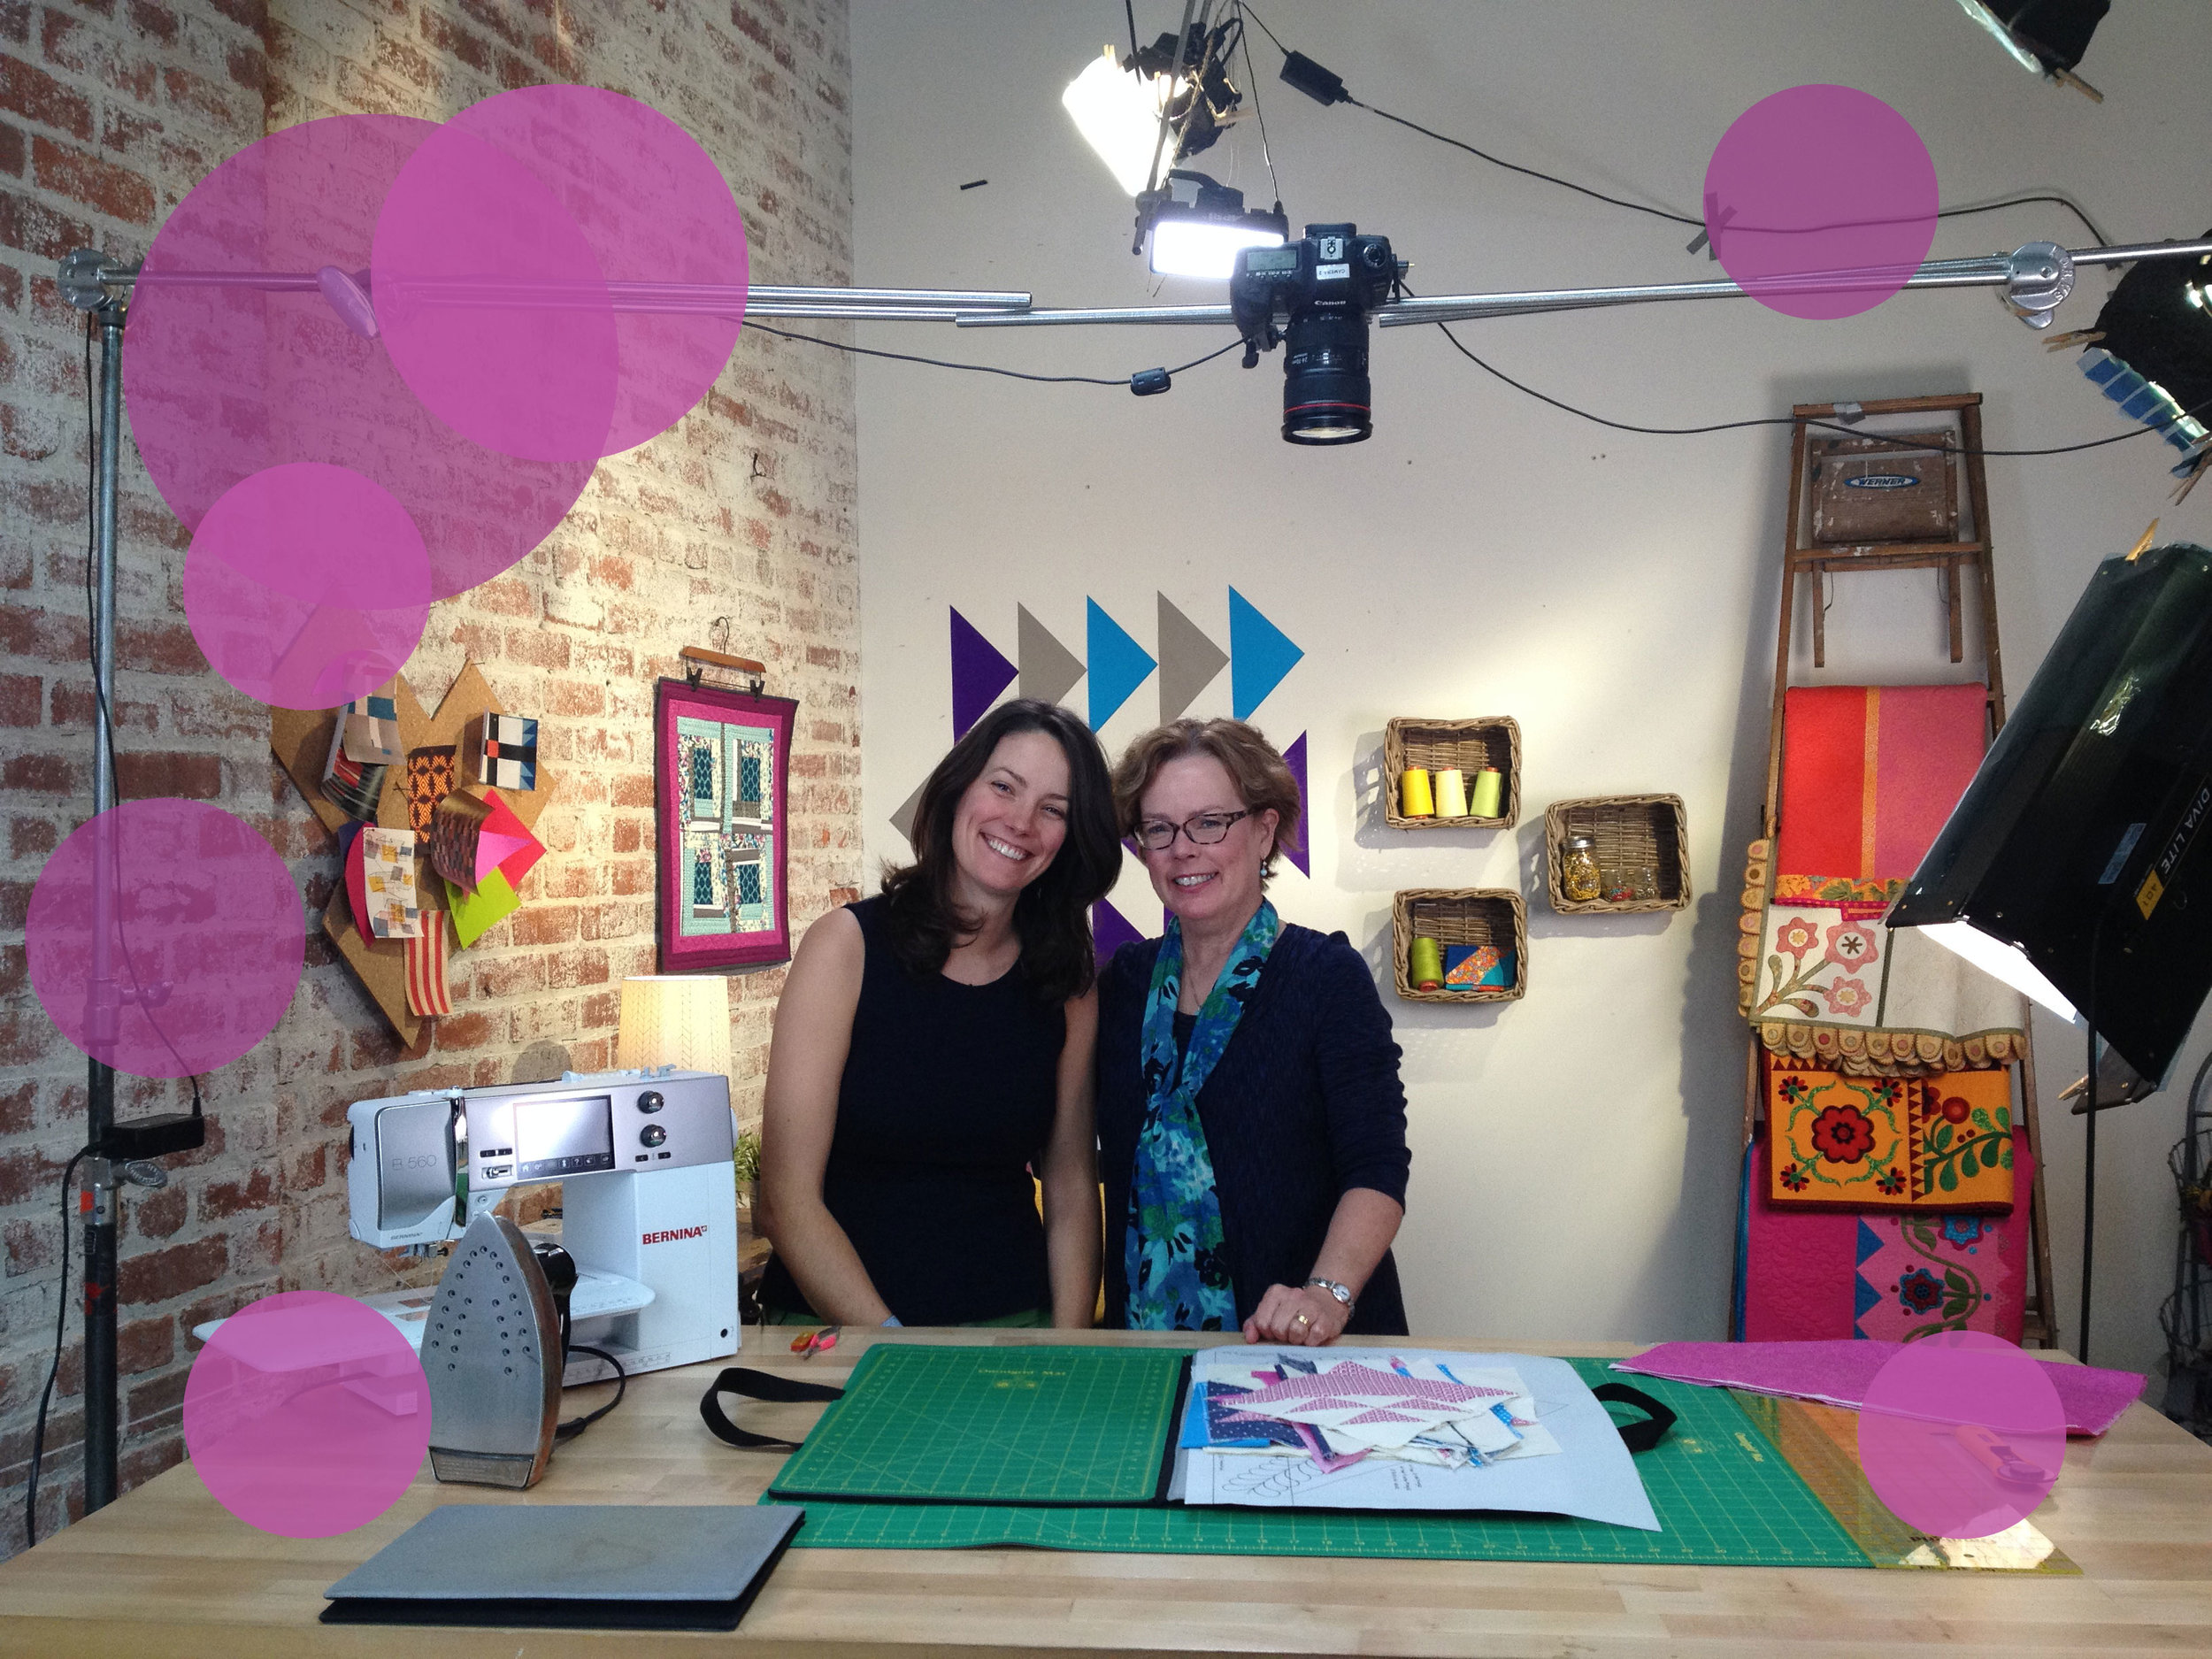
1) I have been a part of the Creativebug family for many years now. Sometimes, when we're filming, it's almost like I'm sitting around the fireplace chatting with my pals. Minus the fire. And with bright lights and a camera in my face. But almost. Check out this mini-documentary on CBTV, Creativebug's FREE library of artist biographies, live stream recordings, and other fun glimpses into the lives of the artists.

How I use journals

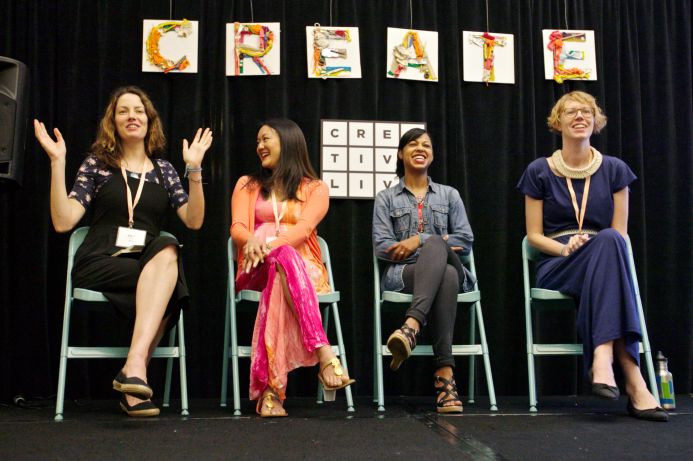
3.) Speaking of Nicole and Delilah... let's talk about Craftcation 2017! I'm super excited to be teaching again, and look at what an amazing cast of presenters is already on the lineup! General registration opens on October 13th at 9AM PST, so mark your calendars. Click on the photo below for the registration info. If you've ever wanted a vacation, on the beach, with a bunch of awesome crafty people, taking crafty classes and just generally being crafty and awesome... this is your conference. Palm trees! Fish tacos! Glue guns! Need I say more?!Photo courtesy of Dear Handmade Life (me, Amy Tan, Adrienne Wiley, Kiffanie Stahle in our panel on Multiple Income Streams.)

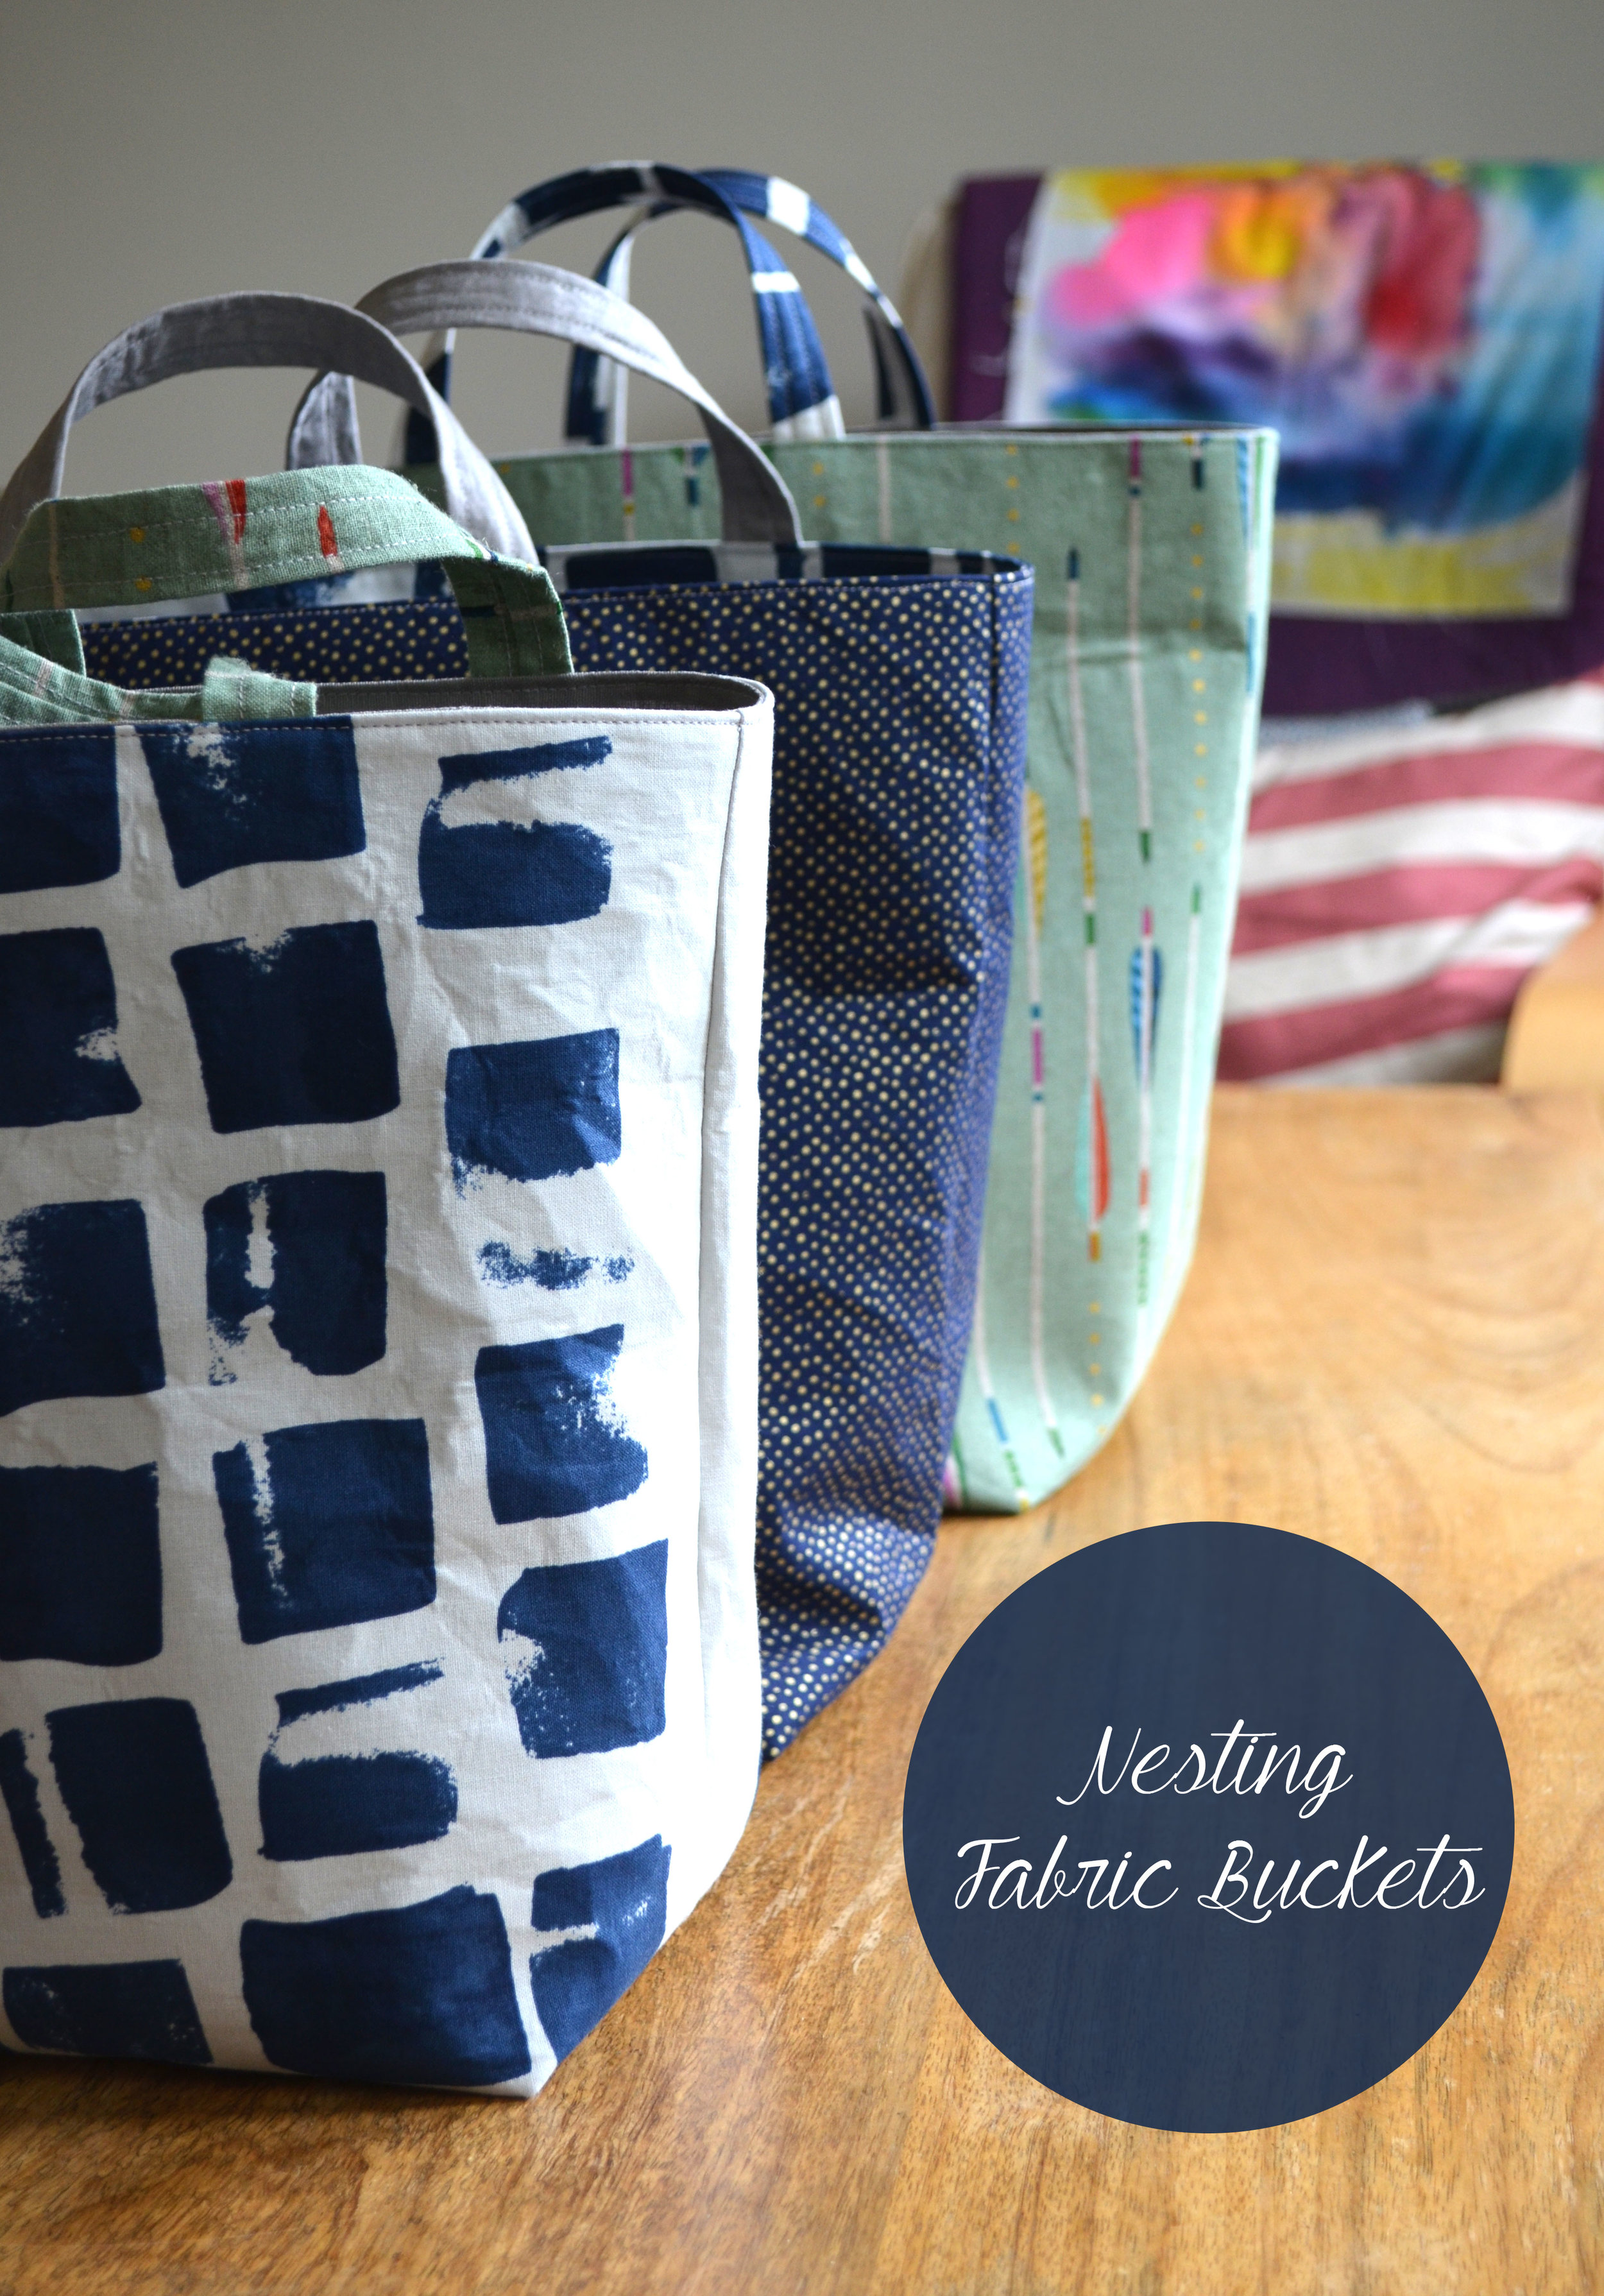
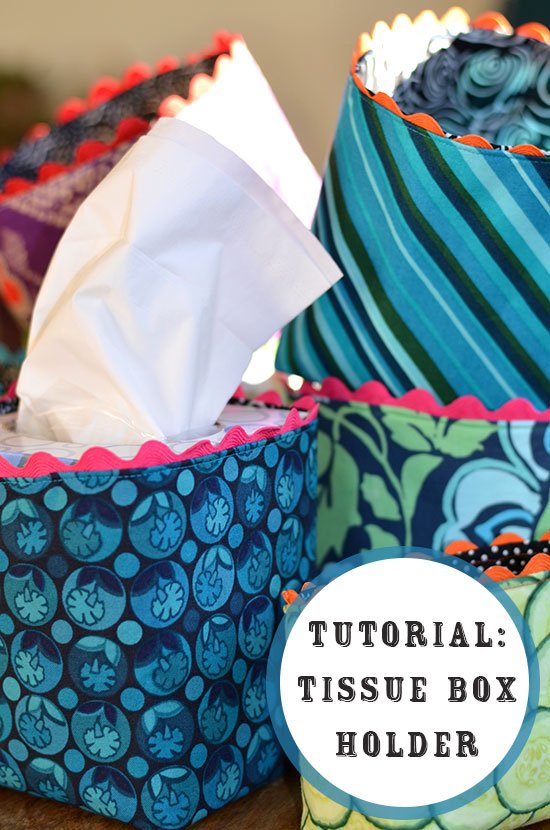
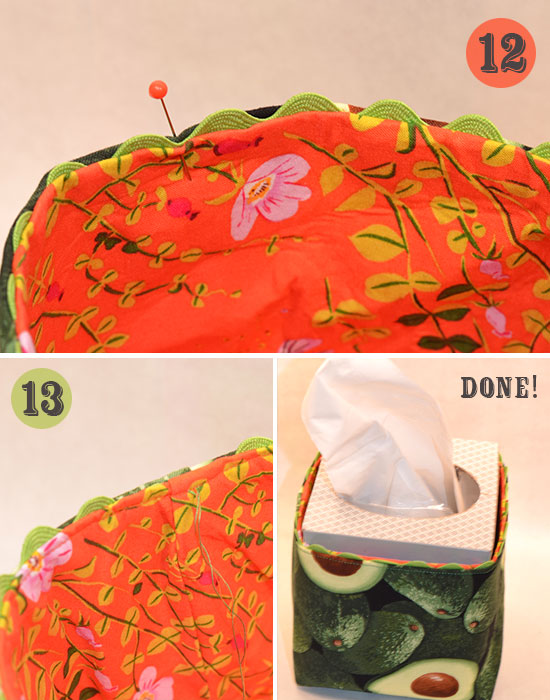
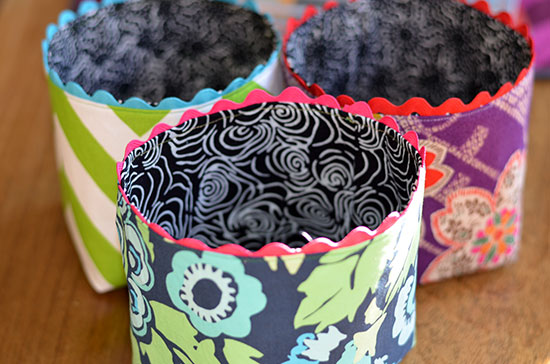
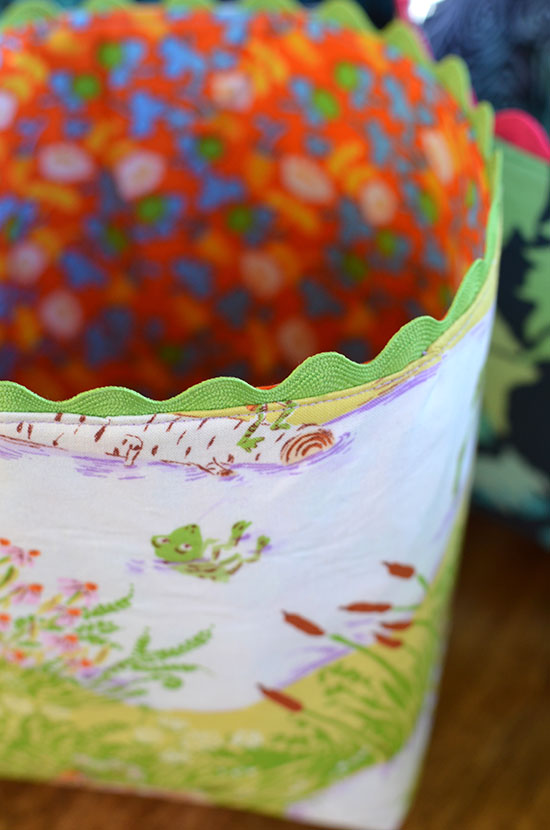
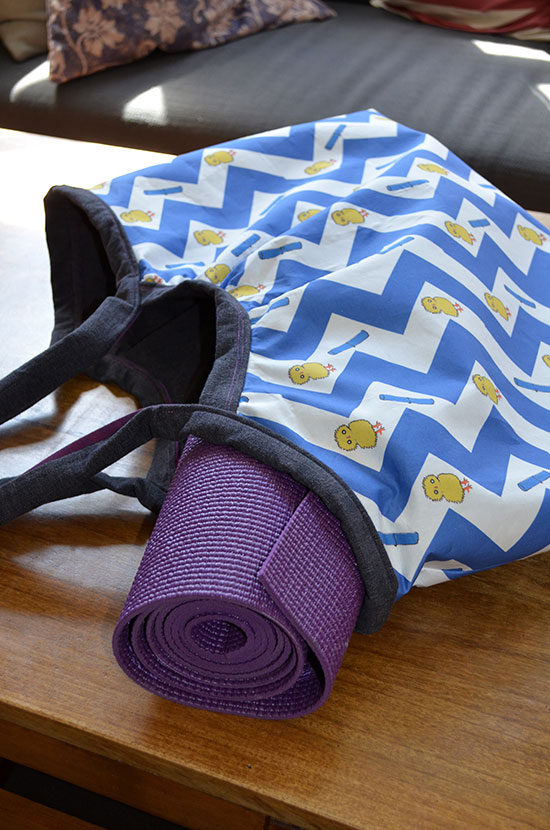
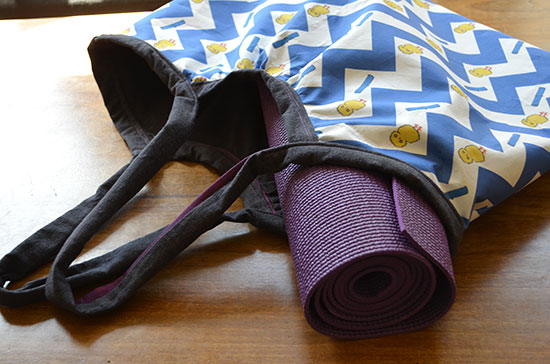
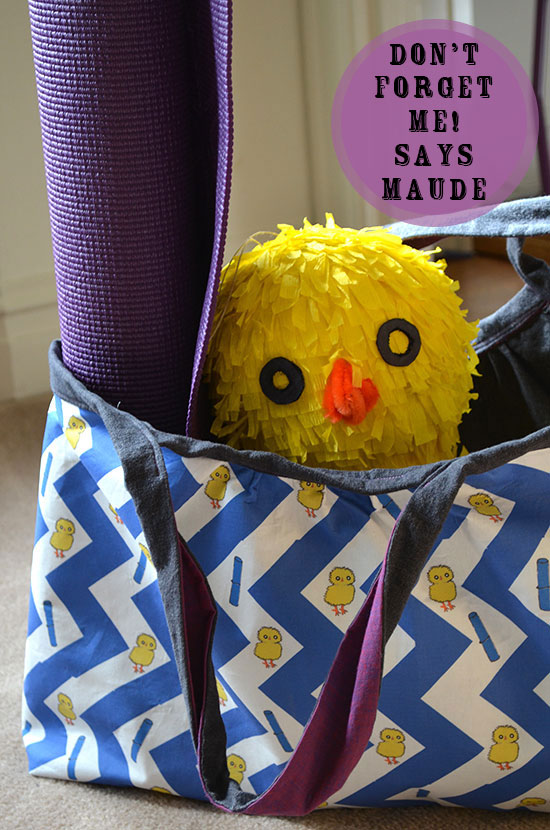
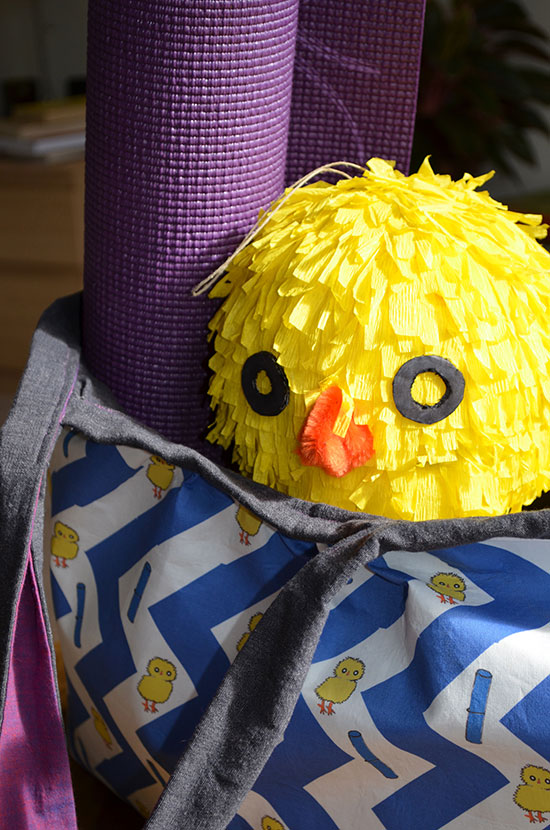
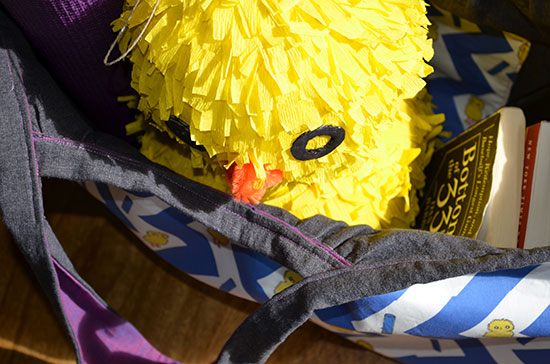
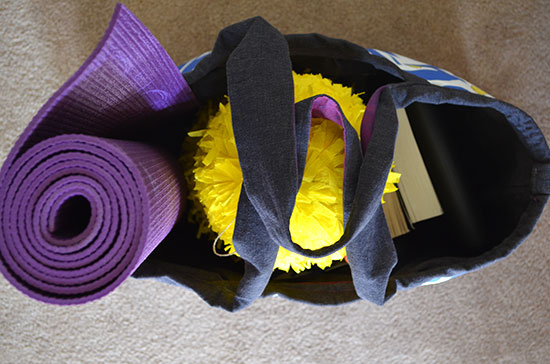
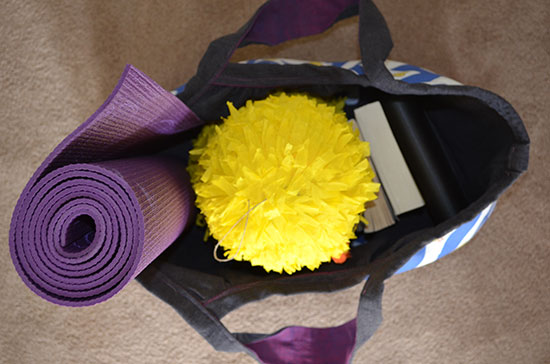
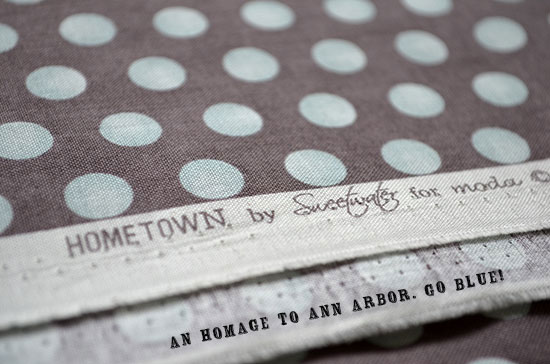
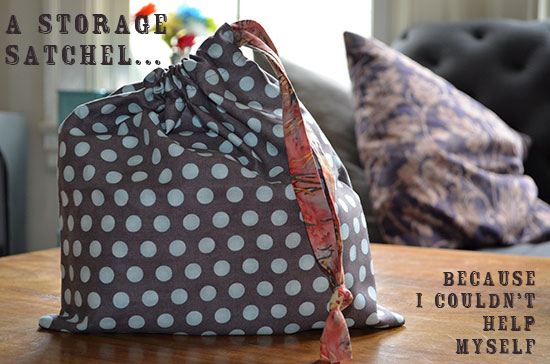
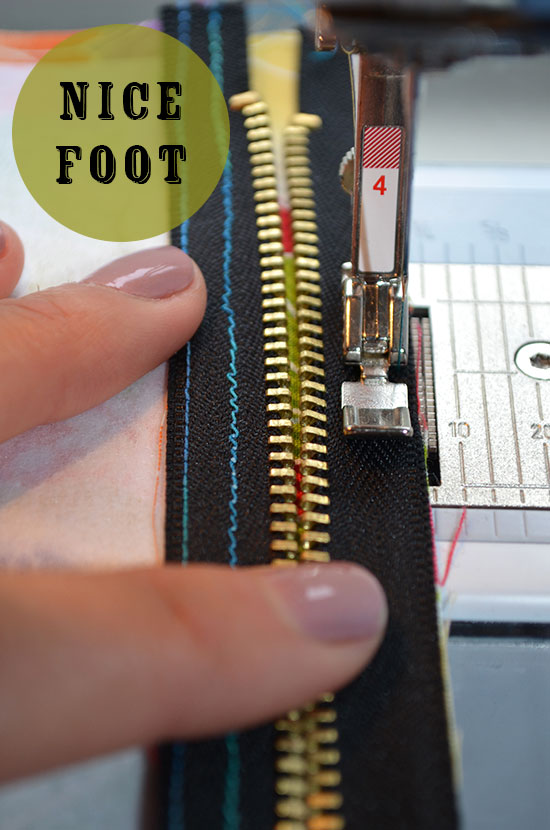
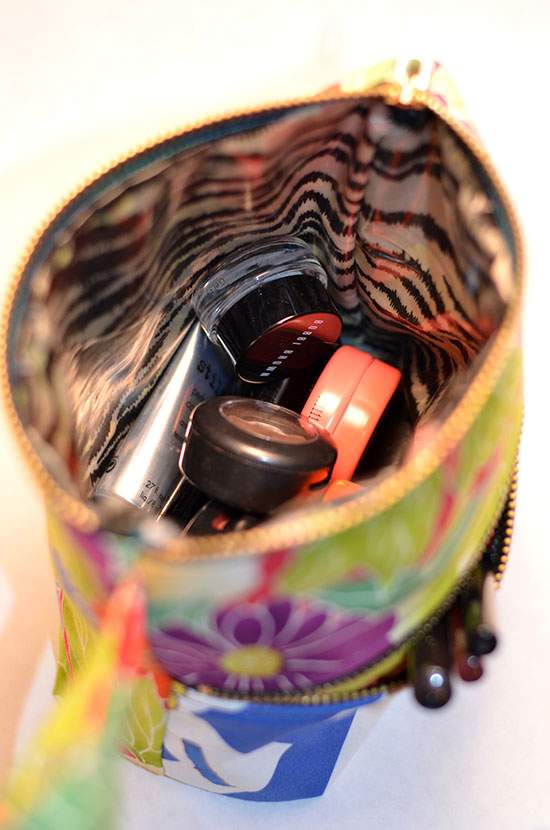
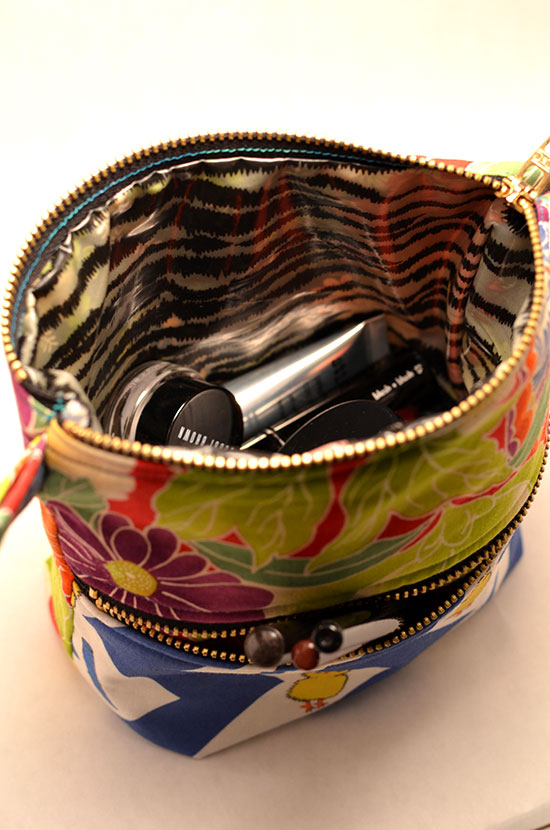
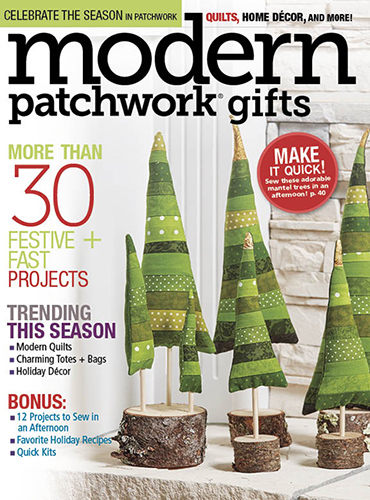
4) Lastly-- phew!-- Can you believe that people are already thinking about holiday gifts? Yes, it's true. Well I wrote a sweet little tutorial for Modern Patchwork Gifts on how to make a set of these nesting fabric buckets with handles. I also had a revelation last week that they also make great handbags. Get a copy and make some!

mpg16_cover_npc

See you soon!

Ashley

September! Part 1!

paintingcover

September! It’s Fall! Back to School! Virgo birthday season!

It’s also that time again when I announce all the cool stuff going on. There’s so much, actually, that I’m dividing into two posts. Because I like sequels.

1-- I'll be heading to Palm Springs at the beginning of October for Quiltfest Oasis. I'll be teaching and lecturing, alongside some other awesome quilters, including Libs Elliott. Check out the details here or by clicking on the photo. See you in Palm Springs! (I'm so excited, by the way, I've never been to Palm Springs!)

2-- Next up! The following week, I'll be back in the Bay Area teaching for my second year at the Pacific International Quilt Festival. And this time, you'll recognize right away who else is going to be there.

There are still spots open in some of our classes, so head over to the website to sign up. See you in Santa Clara!


Part Two of the September updates to come... including some dates for your calendars and fun projects to announce! Stay tuned.

Oh, and if you aren't already doing so, follow me over on Instagram to keep track of my comings and goings:)

See you soon,

Ashley

Homage to the Pioneer Women

One of the things that I love about quilting is the mixture between the precise and the improvised. There’s nothing that gives me more satisfaction than when my corners nestle perfectly when I’m chain-piecing a quilt top together, but I also rebel against repetitive quilt blocks. I suppose that is one reason why I would be considered a “modern” quilter.

But it turns out my “classical training” has influenced my designs a bit more than I thought.

I wrote a blog post a year ago about a quilt I made for a dear friend who was moving in which I used the friendship star block. I just love how the shape of the star reminds me of a person walking forward with their head held high in a posture of self-assuredness. So this year, when my friend Annabel asked me to make a quilt using her stunning new fabric line for Windham, Maribel, the confident friendship star automatically popped into my head. It seems I just can’t shake this wonderful block.

Well what do you know... upon further research, I discovered that this was a favorite quilt among Pioneer women who made their journeys West.

Allow me to quote from the National Park Service website:

“The quilts the homesteaders brought with them were a comfort to these women who traded their home, family and friends in the East, for the uncertainty of traveling through vast prairies in the West. A quilt that held special value to the pioneer women was the Friendship Quilt.

Often it was done is secret, and then given to the woman as a going away gift. It usually was a group effort, with each block being sewn by a friend or relative with their name embroidered in the center. Putting a Friendship quilt on the bed, gave a woman a sense of connection with her former way of life. It kept alive the memory of family and friends, providing comfort and company during the difficult days of homesteading.

One woman homesteader said, "When I get lonely, I read the names on my quilt. "It was like putting her arms around someone and giving them a hug.”

Aw shoot, as a woman who herself journeyed from East to West… it’s NO WONDER I feel an affinity for this block! Not only does the star represent a strong, independent friend, but it evokes a warm embrace from said friend, and others. It's just perfect.

So from my homestead to yours, here’s my quilt, “Maribel’s Friends,” a variation on the block that is a simple combination between the half-square triangle and the simple square, chain-pieced together. Of course, the only things missing are the names of Maribel’s friends embroidered in the center:)

I'm so grateful to Annabel of Little Pincushion Studio for the opportunity to work with her lovely fabric. Have a peek at the look book here, and ask for Maribel by Annabel Wrigley at your local quilt shop!

Here's another little item I made with Maribel fabrics, modeled here by my friend Anne, who, by the way, is one hell of a quilt-holder-upper. And she also gives really wonderful hugs. :)

Pattern for reversible sun hat found on Creativebug.

Maribel's Friends: Mini Quilt Pattern:

Finished squares measure 3”, finished border measures 1 1/2".

You'll need:

-16 half square triangle blocks (See tutorial below)

-21 squares varying prints from the Maribel collection, cut to 3 ½”

-4 squares of white fabric, cut to 3 ½" for the center of each friendship star

- 2 strips for border, cut to 2" x 40"

Arrange your squares on a design wall or floor, following the photo. Chain-piece your squares together, saving the pressing for the end. (If you are looking for a tutorial on how to chain-piece, might I suggest my class on Creativebug, in which I talk you through the whole process.) Add border strips. Back, baste, quilt, and bind!

Feel free to adjust the size, or add more blocks. Just adopt that Pioneer spirit... sky's the limit!

HST tutorial:

Cut 8 squares to 3 ⅞” (4 colors and 2 low volume white prints, 2 solid white) and follow tutorial to make HSTs. Pair colors with low volume whites or solid whites!

Love,

Ashley

Summer News

Happy Summer!

School is out and the sun is out (occasionally) in San Francisco! There has been a LOT going on over here, so allow me to cut to the chase.

Attention World!

I LIVE STREAMED! Yep, I made my very first infomercial, an impromptu Facebook live video from the Patchwork Show Oakland a couple of weeks ago. Thanks to the team at the Patchwork Show, and also a special thanks to my friends Justin and Jamieson for helping, it was like sweet serendipity the way that whole thing went down.

In case you missed it and need a few chuckles, here it is:

[video width="640" height="640" mp4="http://www.alphabetsummer.com/wp-content/uploads/2016/06/PatchworkLivestreamJune52016.mp4"][/video]


Attention Pop-Open Coveters!

My Etsy shop has a new look. Also, I’m going to be adding this beautiful medium size to my offerings, as well!

BlackYellowPop

Attention Sewists!

My latest post on the Dear Handmade Life blog is a tutorial on how to make this super easy sleep mask. I’m taking mine on an upcoming backpacking trip, since that summer sun makes it almost impossible to sleep past dawn. You should make one, too! 

SleepMask_GIF3_Slower

Awesome photography by Isabel.

Also, my latest Creativebug class, How to Sew a Dopp Bag, is the June Bag of the Month! If you haven’t checked out the trailer to see if it’s your thing-- which I can already tell you it is-- here you go! Don't forget to use the promo code ASHLEY for a free two-week trial!

June_BagOTM_Blog_650x650

Attention Pop-Open Owners!

Are you taking yours on any trips this summer? Take a photo of your pop-open in the wild, like my friend Diali has here in the Grand Tetons! Tag me (@alphabetashley) and use the hashtag #popopensinthewild and it could be shown on my page! Also, at the end of the summer, there might be a prize involved. Just saying.

IMG_9213

Attention Quilters!

I'm excited to be teaching at Quiltfest Oasis in Palm Springs this October 6-8th! I've never been to Palm Springs and I feel like it might officially make me Californian. I can't wait! Head over to the site to see why I'm so honored to be a part of this lineup.

Also in October, I'll be returning to the Pacific International Quilt Festival in Santa Clara! Head over here to see my class offerings and also who else will be teaching... hint: It's my mom!

Attention World, Again!

Last but certainly not least, I’m thrilled to share that an article I wrote will be appearing in issue #30 of Uppercase Magazine! More on that soon, but if you aren’t a subscriber yet, use the code “summer30” for a discount. This magazine is one of my absolute favorites, and I look forward to receiving it more than almost anything. To say I'm honored that words that I wrote will be printed in this beautiful publication is a vast understatement.

That is all, for now. Thank you for reading, and happy summer out there! I'd love to hear from you, especially if you have any ideas for more silly live videos!

More from me really soon.

Love,

Ashley

What's New

Lots of fun stuff happening over here!

First of all, this week is QuiltCon 2016 in Pasadena, CA. I'm thrilled for several reasons, one of them being the cool classes I'm taking, including my first long-arm class! I'm excited to see friends and meet new ones, hopefully. And of course, I can't wait to see the one and only Gwen Marston as the keynote speaker this year. But... it's also the first time I have a quilt hanging in the show! I'm extremely giddy to see "Pixels" hanging on the wall of a show... it will be a special moment for me, for sure. More on this soon!

Secondly, my latest class on Creativebug is out! The Perfectly Pixelated Jelly Roll Quilt is a great beginners quilt top project. It features my favorite chain-piecing technique, and explores how to use a design wall to map out your design. 

If you haven't signed up to Creativebug yet, now's your chance. They're offering a free month subscription if you use the code MSTAR. What are you waiting for? Just head over and check out their instructors and classes if you don't believe me about how amazing it is.

Thirdly, I'm so pumped to be writing a monthly post for the Dear Handmade Life blog. If you're not familiar with this website, it is one of the many glorious brain children of Nicole Stevenson and Delilah Snell, of Craftcation and the Patchwork Shows that I participate in and love. Check out my maker profile and see my first DIY post, this super sweet and simple fabric wallet.

Simple-DIY-Fabric-Wallet-from-Dear-Handmade-Life

And on the personal project side, I can finally share this baby quilt that I made for my dear friend’s new baby boy. I used these delicious constellation and moon phase prints from Moda, and love both the random chaos and occasional order that the half square triangle design created. I have an image of him, as he grows, staring at the triangles and squares and finding new patterns and different shapes each time. 

WillsGalaxyAshleyNickels

I just love this quilt, and I hope he does too.And don't forget, registration for Craftcation is open!

See you soon,

Ashley

Baby Bibs: They're SO In

There are more babies in my life right now than ever before! And that’s saying something, because I remember one year at my school in Spain when so many of my colleagues were pregnant --something in the water, they said-- that when those little guys reached school age, they filled almost an entire preschool class!

Well now it’s January 2016, and it seems the baby-having has ramped up again. I can’t seem to throw a cat without hitting a newborn or a pregnant friend! And the ones that have arrived recently, boy, are they gorgeous little humans.

Who spit up a lot.

And are in need of bibs.

I suppose I’ve been bib-making for many years now. A few years ago, during another baby-having extravaganza at my school-- this time in San Francisco, and this time by the wives of my co-workers, so NOT school water related, thankfully-- I thought of this simple, customizable, and easy-to-make baby gift.

And I’m not kidding when I say they really do make the perfect, easy gift. Using 100% cotton makes them fully washable, totally useable, and extremely soft. If you don’t believe me… try it yourself! By taking my class, Quilted Jelly Roll Baby Bib!

I’m super excited about all of my newest classes on Creativebug, but this one in particular is near and dear to my heart. Not only is it extraordinarily fun because you get to use strips from a jelly roll, but it involves making an improv log cabin block, which means that when you make this little guy, you are officially-- gasp-- a quilter!

I hope you guys will check it out. What’s more, and perhaps the best part of it all… Creativebug is offering the first month FREE for new members using the discount code MSTAR through 3/31/16! So, if you haven’t tried Creativebug yet, this is your chance.

AND! I’m so honored and excited that this class is part of an exclusive offer with Missouri Star, who is offering the Mojito jelly roll (the one I used for this class) as their Daily Deal on Friday, January 15th! By the way, if you don’t know about Missouri Star, check them out here, or read what Abby Glassenberg just wrote about them over here.

Happy baby-having and bib-making, world!

-Ashley

(My thanks to Brené Brown, for reminding me-- while reading her latest book over the holidays-- of the fabulous "cat-throwing" expression.)

A Mother's Day Treat

Mother's Day is coming up! You might remember that me and my mom filmed a Mother/Daughter quilting class last year with Creativebug... Well if you haven't checked it out, you can at the very least watch the trailer (complete with eye-roll from yours truly) here.

Also, I thought you might like to know about a NEW Mother's Day offer from Creativebug! Click on the image below if you think your own mom might like a creative jolt for her present this year! TWELVE classes for her to keep FOREVER! The Creativebug library includes some AWESOME classes, and not just quilting! Some of my favorites include this watercolor class, this scarf classthis knit dog sweater class, and this felt sewing kit class. OH! The list goes on. Maybe one of the 12 could be a class featuring a Midwestern mother/daughter combo?

So click on this image to get your mama a sweet creative treat! Enjoy!

Give or Get Creativebug this Mothers Day

And... HAPPY MOTHER'S DAY to all you mothers, grandmothers, great grandmothers, stepmothers, almost mothers, sort of mothers, surrogate mothers, and friend mothers out there!

-Ashley

Photo courtesy of Creativebug.

Golden Gate #2, check!

GoldenGate2Main

Oh, the diamonds! The four-point stars!

This project had it all. Geometry, measuring, and a lot of free-wheeling. You might remember that I am a self-proclaimed "triangle-phile," and well, I do believe that I'd like to officially add diamonds (rhombuses, if you will) to my list of sewing shape celebrities.

As you can see, I marked the quadrants. My philosophy on marking is to err on the side of YES. Even though it can be (or it IS) tedious, I find that it pays off, especially when geometric shapes are involved!GG2-Photo5

But wait. What started out as an exploration of these four-pointed rhombi quickly moved into a focus on what I determined to be the negative space of this quilting design... the star. GG2-Photo1

Here you can see the free-motion doodle I placed into this star-shaped area. It not only made the diamond "pop," or "puff" up, but the use of blue thread gave the star area its own stand-out design.

GG2-Photo2GG2-Photo3 GG2-Photo4Thanks for all of your support!

See any gates out there you think I'd like? Let me know on Instagram with the hashtag #gatesofthesunset, or tweet me @alphabetashley!

See you soon!

-Ashley


Golden Gate #1, check!

Last week's gate project involved a beautiful Art Deco pattern that I had a fun and humbling time quilting onto a bright and colorful spectrum pieced top. I took all of the beautiful pre-cuts that I received at QuiltCon from Moda, Windham, and American Made Brand fabric companies, and I pieced them together. Color explosion!

Then, I took the gate pattern and developed the machine quilting design. The colors are so bright and beautiful that the quilting almost seems secondary, but I'm really happy with how it turned out.

One of my favorite parts of this project is going out and photographing in my neighborhood. I got several looks, a few curious glances, and one sweet woman who walked by told me she was "so happy to see a young person so passionate about quilting," which warmed my heart.

Here's a glimpse of my Golden Gates 1 quilt. Enjoy!

More #gatesofthesunset to come...

GoldenGates1Board

GoldenGate1CornerGoldenGate1JudahGoldenGate1Full

M is for Mother-Daughter Quilting Class

Quilts on Table

May always feels like a very family-oriented month to me. My dad, my sister, my brother-in-law, and BOTH of my nieces celebrate their birthdays this month. And to top it all off, it's Mother's Day! I seem to be the only one who doesn't get some love this month. Unless you count a 1/2 birthday. But who (above the age of 13) celebrates a 1/2 birthday...?

In any case, I have a LOT of cards to send this month.

Just in time for the familial festivities... I'm excited to share a project that my mom and I have been working on... a Mother-Daughter Quilting Class!

Many of you know that my mom is a professional quilter, and travels near and far in order to spread her knowledge of quilting. Teaming up with Creativebug allows students to gain access to her classes from the comfort of their own home. To top it all off, the video workshops are stunning!

This past month, I had the pleasure of joining the Creativebug party. In our class, we explore the differences between modern (me) and traditional (my mama) quilting by making two different quilts using the same color palette. We give step-by-step instructions on how to make both quilts, and give video and PDF instructions. Yep, that's right. Two for one!

The fun part about the class is that you can not only learn how to piece together both quilt tops, but you also get the added bonus of learning several machine quilting techniques. And considering we are both from the Midwest... there's a lot of smiling!

Here is a quick look at the filming. It was oh-so-fun!

The-Set-Cbug

Sue-Filming

Ashley-and-Sue

And here are the quilts!

Two-Quilts-HangingCheck out the Mother-Daughter Quilting class on Creativebug! Also, browse all of the other amazing classes, and consider a subscription or even a free trial! You can't go wrong.

Many thanks to the wonderful peeps at Cbug, and of course...

Ash Sue Photo

(Photos courtesy of Creativebug Inc.)

A is for Achoo! (A Story and a Tissue Box Tutorial)

Back in October, when I was at the Pacific International Quilt Festival, I bought MORE of Heather Ross's delicious Briar Rose prints.

I know.

Did I really need more? Well, duh! YES I needed more! You always need more!

As it turned out, that extra yardage was the cloth that broke the camel's back. And by camel I mean the crappy Ikea cabinet where I store my fabric.  My shoe-box-sized fabric closet could simply not hold another chunk of fabric, beautiful as it may be.

I was faced with an age-old problem: Where to PUT all the fabric?!  So, big surprise here, I decided to make a storage satchel that was eye-pleasing enough to be left out on a shelf.

As far as the rick rack goes... I thought... "Oh, go on, Ashley, why not?"

Then I really liked how it turned out:

Fab-bag

And that was when I decided to put rick rack on EVERYTHING.

Sooooo...

'Tis the season to be sniffly, am I right? And that tissue box is kind of an eye sore. Why not add a little sass to that box o' pañuelos, your most commonly used household item?

Tutorial-Cover

Tutorial: DIY Beauteous Tissue Box Holder

*For a standard size cube tissue box

Materials:

  • One 19” x 8” rectangle of fabric for exterior.
  • One 19" x 8"  rectangle of fabric for liner
  • Two 19” x 8” rectangles of thick fusible interfacing (I used Pellon Craft-Fuse)
  • 20” of Rick Rack
  • Thread
  • Pins
  • Awesome music

Written instructions following the photos!

Tutorial-1 Tutorial-2 Tutorial-4 Tutorial-5

Instructions:

1. Iron-on interfacing to the back of both rectangles of fabric following the manufacturer's instructions.

2. Take one rectangle and fold in half, “good” side in.

3. Sew two seams (1/4" seam allowance); one on the side and one on the bottom, leaving the top open. (Note: Top and bottom edges are longer, 9”)

4. Repeat for the liner rectangle.

5. Box the corners using the actual tissue box and a pencil to mark where you will sew.

6. Sew 1/4" outside the pencil line. Trim the extra fabric as seen in photo.

7. Turn lining fabric so the “good” side faces out.

8. Insert the lining “box” into exterior “box” so that the “good” sides are facing each other. Be sure to line up the two sewn edges.

9. Place rick rack between the two layers at the top edge, pinning as you go along. Be sure to leave a tiny bit of the rick rack sticking out.

10. Starting about 3 inches from the sewn edge, sew. Be sure to be less than ¼ inch from the edge, leaving about 3 ½- 4 inches open for turning.

11. Turn. It might fight with you, but don’t give up!

12. Iron the edge flat, particularly where the open part is. Pin this area closed. This might take some finesse, but it should blend in nicely.

13. Sew a finishing stitch along the edge.

14. Tie-off the loose threads.

Boom. Stylish sniffles. Enjoy!

Tissue1 Tissue2 Tissue4Briar-Rose-2 Tissue5You'll notice all different shapes and sizes, too! They're great for storing loose change, for gathering buttons, or even for collecting rouge threads. Anyone recognize that Amy Butler print?

Oh, and I'm selling these bad boys at the Friends School craft fair this Saturday, December 14th from 10-1 if you'd like to get your hands on one:)

Alphabet Summer 2013: Looking Back

Maude keeps staring at me, almost as if she's saying, "Hey! Thanks a lot, woman. You made me and now I just sit here. At least have the decency to bust me open like a civilized piñata." STOP YELLING AT ME! I say, as I walk past her confused face every morning. 

Don't worry, Maude, even though this year's alphabet is done, there's still plenty of fun to be had. And, no, that doesn't mean I'm going to stuff the poor chicken with candy and beat her with a baseball bat.

I'm probably not going to do that.

Alphabet Summer 2013 was wonderful, and I'm so happy to look back on all of the sweet, sweet memories.

ALSO, I am proud to share that photographs of all 26 projects are hanging in the art space at my school here in San Francisco. For those of you who can't stop by, you can check out the photos below. Also, visit this page if you want to look back on each project.

And for everyone who followed along this summer, or if you have just started checking in, I'm so grateful for all of your support, both this summer and beyond. You haven't heard the last of me quite yet:) Promise.

And, in case you were interested, I was honored and super excited to contribute an article about making zigzags from triangles on the Bernina blog!  Here's a link to the article.

Now, what to make next...

Z is for Zig Zag & Zipper

1Z-PatchThe last letter of the alphabet. Whoa.

In true Grand Finale style, I decided to go all out and use the letter THREE TIMES for this project. Why not? And then, why not sew a big fat 3D letter "Z" on the project? And why not take two entire weeks after the letter Y to work on the project? Don't mind if I do.

Part 1: Zig Zag

Okay, so we already know I'm big on themes. And clearly, as evidenced in the letter W, one of my favorite things to do lately is sew triangles together to make a chevron pattern. I even used the triangle zig zag pattern as inspiration in designing fabric! So how could I resist making a zig zag on this clutch? Well I couldn't resist. I didn't resist.

It's so easy, really. You just have to respect the quarter-inch seam allowance:

2 Triangle-Set-up 2Quarter-inch-footOffset-Triangles-Corrected

Using the quarter-inch foot helps you get a nice, straight row of triangles, and give you enough of a seam allowance to sew the rows together and avoid chopping off the top of your triangle. I call this "Avoiding the Volcano."

4Triangle-Row--Final-2 5Triangle-StripsVolcano-Free

Part 2: Zipper Clutch

The zipper clutch has been on my mind for months. I'm not normally one for a "strapless" purse... Essentially, it's like carrying your wallet around in your hand all night. Um, who's got the energy to do THAT?! I have MUCH more important things to do with my hands, like play with my hair or rip labels off of beer bottles. And, I believe I've already discussed how I can't hold a yoga mat and a coffee at the same time.

But, I'm challenging myself to 1.) Get a grip, and 2.) Carry a freaking zipper clutch around for a change.

I'll let you know how it goes.

This bag was super fun to make, to boot. I used a bunch of upholstery fabric and wool suit material from the Fabric Outlet, plus some scraps I got last week at an event at the Museum of Craft and Design from FabMo. (Side note: Do you know about FabMo? Scraps of designer fabric? Donation-based? Yes please.)

6Zipper-Foot 7Purple-Insides 8Clutch-Flat-on-Table 9Flat-on-Table-Vertical 10Z-closeup 11z-Closeup-2 12Open-Wide 13Zig-Top 14ZipperClutchDid you see the bonus "Z" on the inside? Only visible when you unfold the bag to get inside.

And, that's the end, folks! I squeaked in just before the Equinox, thankfully.

I can't believe it! Stay tuned for a retrospective, a look back and a final recap of the summer.  And surely you know that this might be the end of Alphabet Summer 2013, but it's really only the beginning.

XOXO,

Ashley

Y is for Yoga

WHAT IS UP with those yoga mat bags? You know the ones I'm talking about. To quote my friend Molly, “A tube bag? Really?”

Seriously. It’s like a Tupperware shaped like a banana. Come on, people.

But, I know some of you, like me, DO carry an actual yoga mat around, and might be interested in some sort of satchel that would hold the mat, if necessary. It would certainly make my post-yoga bakery stop easier to manage if I didn’t have to hold a yoga mat AND a bag of pastries AND a coffee AND have to get my keys out.

I’ve had my eye on the “Everything Tote” from Heather Ross’s Weekend Sewing for months now. And when Alphabet Summer Fan Número Uno, one Ms. Libby Paglione, suggested that I make a yoga bag with the fabric I printed way back at the letter F, it was an official NO brainer.

1Maude-Yoga-Queen 2Everything-Tote

So the bag itself is made of the familiar "Maude the Yogi" fabric (lined with interfacing) on the outside.  On the inside I'm featuring none other than What My Friend Liz Chopped Off Of Her Curtains. Yep, leftover curtains! They're durable and thick enough that I didn't need to use interfacing. Score!3Making-of-the-Yoga-Bag-9-Sq 4Yoga-Mat-Bag-1 5Yoga-Bag-2-horizontal 6Bag-with-Maude 7Bag-with-Maude-2 8Bag-with-Maude-closeup 9Maude-in-Bag-Aerial 10Maude-in-Bag-Aerial-2I love this bag. If it is big enough to fit a chicken piñata, a yoga mat, two books and a set of Prismacolor markers, with room to spare, I'm thinking this bag (apart from actually being full of awesome things) is also figuratively full of potential. I'm imagining that a picnic blanket, a softball glove and ball, a few peanut butter jars of granola, a pint of ice cream, an Instax camera and even a Chihuahua might all fit inside.

Take THAT, tube bag.

It's getting real, everybody... This was the SECOND TO LAST letter! ¡La Penúltima! Gah!

X is for Xs & Os

8 X-marks-spot

What a crazy letter of the alphabet. Have you ever gone to the X section of the dictionary? Such strange words. I think I'll stick with the letter itself, thank you very much.

It has a nice ring to it in both of my languages, English and Spanish. And you should try doubling it! Just think of the Mexican cerveza, Dos Equis. Or in the English case, the band “the XX,” which is pronounced “the Ex Ex.” Which reminds me, the female chromosome allocation is “XX,” so is that what both of them are referring to?

The letter X is also the most scandalous. There’s the innocent text/email/letter signature “XOXO,” which I have seen in many cases just shortened to “Xx,” since people seem to want to do away with hugging. Just beware... if you add one more “X” to that farewell, you might be accused of wanting something saucier!

It’s funny that I bring all of this up, because for this project I went ahead and chose to honor one of the most G-rated uses of the letter X.

Tic.

Tac.

Toe.

Last X-mas (see how I did that?), I made Stella a memory game out of my fruity fabrics, and so when I got the suggestion for Tic Tac Toe (thanks Brenda!), I automatically was drawn to making a fabric version of the game. Spoiler alert: Guess what my nieces are getting for X-mas!? It’s okay, they can’t read yet. Please don't tell them.

The game board is essentially a nine block quilt, and the game pieces are lined with interfacing to make them sturdier. As I was making the game, I was also listening to the first Michigan football game of the season on the radio, secretly wishing I was back in Ann Arbor. And actually, this fabric comes from the awesome fabric store in AA. I bought it back in December, as a part of what turned out to be a classic "sewing project eyes bigger than sewing project stomach" situation; I had planned on making the yet-to-be-born Mabel a baby quilt. She's almost four months old now. X-cuse me, Mabel! You'll forgive me when I let you beat me at Tic Tac Toe.

Just kidding. I'll never let you beat me.

1 XO-Game-board-9-square 2 Hometown-w-Caption 3 X-Making- 4 XO-Kisses 4b XO-another-closeup 5 X-Closeup 6 Closeup-of-Board-XO 7 Corner-closeup-XO

ReversibleStorage-Sachel2

Check it out: I played myself!

9 XO

And nobody won! Typical.

I can't believe that there are only two more letters to go. TWO!

W is for Wedding

Two, well actually three really amazing events happened leading up to the letter W. First of all, Heather Ross released her new Briar Rose fabric line. You don't have to look very hard to find many a sewist GEEKING OUT on these delicious prints. Ever since I touched and felt that dark bright orange "Bee in a Bonnet" print down the street at Peapod Fabrics, it was literally wafting me it's pheromones from three blocks away. The chemistry is THAT powerful, I'm telling you. Second, two of my craftiest friends (of the Save Tuesdays persuasion) came to visit. And third, the crafty Queen of Hearts herself (who also sits on the Tuesday royal court) got married.

You know what THAT means!

That's right. Handmade wedding gifts.

One thing I think of when I think of my friend Lorien (besides Michael Jackson) is the Prismacolor colored pencil PC903, Bleu Franc (that's True Blue for you non-francophones.) You too? I know, crazy. It's just SOOO her colored pencil. So when I found out she tended towards blue and orange in her house... I let out a little yelp, grabbed my PC903, and made a beeline to buy the fabric.

You'll find below a few shots (and a bonus GIF!) of the process. The final product is either a table topper or a small wall hanging... I'll let the bride and groom decide.

Note: A few months ago, I made a zig-zag table runner. As it was my first time sewing the triangles together in this fashion, I ended up chopping off all of the tips of the triangles, creating an interesting result. It wasn't for a gift, so no big whoop, and it's imperfections have grown on me. But this time, I think I got it. Lesson learned? Respect the seam allowance, people! Respect it, or you'll get some volcano-like triangles.

See below for the other TWO handmade gifts!

1Fabric-Graceful2Wedding-quilt-BIRDSBEES

Love-Quilt3Wedding-Quilt-Top 4Walking-all-over-you 5Walking-Foot-Closeup 6Love Birds Closeup 7Birds 8Lorien-and-Ryan 9Corner 10Final-Quilt!

And then it got better:

Susannah made (and I'm talking from scratch) his/her aprons with hand-printed fish, a hand-printed and personalized message on the inside of each apron, and appliquéd fish on the front. I am constantly awed by her talent, creativity and keen eye for style. She's an inspiration.

Faiza hand-painted and glazed this beautiful bowl. Her design was inspired by both Moroccan and Spanish tile and pottery. It's stunning, and he/she who receives an item crafted by her hands is indeed a blessed individual.

They also got the "blue and orange" memo.

Here are some shots:

11-Yep-Wedding-9-Square

Yes, I wrapped mine with a map of Portland.

And, just for fun, here are some pictures (pardon the poor quality) of the rehearsal paella dinner and actual wedding day. It was certainly an unforgettable weekend. Two beautiful people from two beautiful families, both inside and out. I'm so grateful for Lorien and Ryan, and I wish them all the happiness in the world.

12Wedding-Day

Jewelry-

Save them Tuesdays, world.

V is for Vinyl

I saw the movie “In a World” this weekend. It was the very first time I had gone into the theater knowing absolutely nothing about the film I was going to see… I just trusted that my friend Liz knew what she was choosing. I was NOT disappointed. It was an awesomely funny movie, and I LOVED it. So basically I’m going to steal the idea for the intro to this post.

Imagine that deep, gravelly voice-over actor (or actress!) saying this next line, as if it was a movie promo:

“IN A WORLD where teachers and students were dropping like flies, going back to school left and right, anxious and stressing themselves out... ONE WOMAN braved the Sunday doldrums and fought in an epic battle between a roll of iron-on vinyl and her iron… AND WON…”

Do you ever want to feel powerful and invincible? I do, a lot of the time. I’d like to have the “folding the laundry” superpower, which means that you never have to fold laundry. I’d also like the "flying" superpower, so that I didn’t have to spend $800 to get across the country. But alas, we are normal people, and we need to settle for our regular awesomeness, which, if we remind ourselves often enough, is a superpower in and of itself.

Enter, THIS project.

Last weekend I was in the bustling metropolis of Forest Grove, Oregon. Originally on a mission to find a florist for a hair decoration, sweet sewing serendipity lead me to the local quilt shop, where I discovered this awesome superhero fabric. And not just any superheroes, but the kind with boobs and female parts.

1Superwoman-fabric

HELL-OOOO!? Just as I was looking to conjure my inner superhero! And I had been dying to use this new iron-on vinyl that I bought a few weeks ago… Picture it like I was running down the street tearing off my suit and tie to reveal my Supergirl leotard.

And, let's not overlook an important participant. Since Maude is kind of my hero... I used a little swatch of her fabric on the inside. I even cracked open a fresh spool of thread for the occasion!

Have a look:

2Vinyl-Wallet-Collage-First 3Thread-GIF 4Feet!-Collage 5Clasp-Collage 6Wonder-Woman-Final-shot 7Wallet-Standing 8Wallet-Inside-Shot 9Full-Wallet-Top-View 10Wallet-Full

Now, I’m not saying that the project was a disaster… I’m not saying that at all. But good LORD it was a testy opponent… at times acting like the classic villain, giving me skin abrasions and throwing stuff at me from out of nowhere. But I conquered this wallet. I beat it down with a pair of wire cutters (not kidding) and came out victorious! It is a full functioning wallet, taking on wallet shape and wallet form. It has a zipper, four credit card slots and a magnetic closure. Oh, SNAP. Literally. AND IT’S WATERPROOF BECAUSE I COATED IT WITH VINYL.

BOOM.

Bring it on, world.

You can find your own iron-on vinyl here on Joann.com. Just don't melt it with the iron.

Q is for Quilt

Don't you just love when you can shout, "I made a quilt!" I know, me too!

It's here: The Alphabet Summer 2013 wall hanging quilt. You might remember the 2010 version, and I guess two makes it officially a tradition!

This little guy features four asymmetrical (a.k.a. not measured) log cabin blocks in the center, with some solid fuchsia and magenta border fabric, free motion quilting and a dark gray binding. And when I say “free motion quilting,” I actually mean “wild, unruly, and kind of sloppy motion quilting,” but that’s okay.

And, while I literally followed no rules or measurements for the quilt top... I felt like I needed to be slightly more disciplined in finishing the quilt, lest it end up a pentagon-shaped-wavy-banner wall hanging.  So, at the risk of sounding pedantic, I used my mom’s handy Creativebug tutorials, specifically the “Quilt Sandwich” and “Quilt Finishing and Binding” classes.

Some of you might be thinking, “Ashley, why don’t you just call your Actual Mom on the telephone?” To which I would say, “Why have your Actual Mom repeat herself sixteen times, when you can literally pause and rewind your Virtual Mom as many times as it takes for the binding finishing step to FINALLY sink in? I can never remember the math! 45 degree angle, 3/4 inch, 1/4 inch seam allowance...AHH!”  Cut your Actual Mom some slack, poor lady! Plus, your Virtual Mom has a nice visuals with pretty fabric.

Here's a tour through the Q:

1Quilt-Top 2b Cut-it-Down 2Quilt-Border 3b Q.T3-NEW-Pinning-Hand-Basting 4Walking-Foot 5Machine-Quilting 6b Alphabet-Free-Motion 6c Pinning-on-Floor 6Finish-Quilt 7Final-QuiltI think I finally got it. Also, (listen carefully) I am NOT ALLOWED to use this raspberry color ANY. MORE.

Stay tuned for Chicken updates: I heard she did some shopping on the "Maude"Cloth website...

N is for Napkins

The British “serviette” sounds so much better, don’t you think?

But, alas, here in les Ètats-Unis, we use a word that also shares meaning with much grosser things. (Do you need a hint? OK, the British word for diaper, and the thing that shares its name Carmel’s beloved sidekick.)

THANKFULLY the Merriam Webster dictionary exists, otherwise we would still have our minds in the gutter (okay, probably just me, I would still have my mind in the gutter). Here is the definition:

nap-kin: n. A piece of material (as cloth or paper) used at table to wipe the lips or fingers and protect the clothes.

And so, behold, a DIY napkin tutorial, featuring some fancy free-motion quilting (oh là là!):

*In case you were wondering: The cotton-that-looks-like-linen fabric I used (pretty great, right?) comes from Satin Moon Fabrics on Clement Street.

1-Napkin-Setup 2-Sewing-Napkins 3-Plain-Napkins 4-Free-Motion-Napkin

Circle-1 Circle-2 Circle-3 5-Finished-Napkins 6-Finished-Napkins-Layered 6b-Free-Motion-Napkins 7-Napkin-Set 8-Napkin-Set-w-Bow

Violà! A gift set of Alphabet Summer napkins. I do love me a good monogram. And, très green, no?

P.S...I had big plans to celebrate “N for Neighborhood.” I even took several walks and snapped over fifty pictures of my favorite spots. Then, as I looked at one gray, fog-infused photograph after another, it just seemed like this week (well, month really) was not ideal, considering it’s the foggiest, coldest season of the year. But here's one anyway, capturing my favorite event in my hood. And then somehow everything got all French.

Neighborhood

M is for Makeup

Two things.

1. I had two delicious yards of the “Maude the Yogi” fabric waiting for me in the mail when I got back from my Eastern-ly Journey. I didn't think that fabric could be funny, but man, that chicken sure does make me chuckle.

2. Do you know about the Tumblr “Your LL Bean Boyfriend?” I find it quite magnificent, and not just because of the bearded preppy men. My point for bringing it up is this: When asked if the dress she was wearing to an awards ceremony was in fact actually from LL Bean, Liz Price (the mastermind behind the blog) answered, “I’m big on themes.”

I, too, am big on themes. So, while this makeup case may have several commonalities to other things you have already seen this summer (here, here and even here), think of it as an overarching theme (like “Good and Evil” in To Kill a Mockingbird, or “Dependence on Men” in A Streetcar Named Desire.)

The case features some familiar fabric, but it also debuts a new treasure. In looking for a plastic material for the lining of this little guy, I stumbled upon some... ZEBRA PRINT... wait for it... VINYL. Yep, that's right. Zebra print vinyl. Which, of course, not only makes it water/makeup resistant on the inside, but also freaking fabulous.

Enjoy the pics.

Makeup-Bag-Final1-Zipper-Foot2-Zebra7-Vinyl-Zebra-Inside4Inside-Makeup-Full8-Inside-Makeup-Full-25-Front-Zip-Makeup6-Maude-Front-Zip-MakeupWalking-Makeup-GIF

Hey you! This is post #13! Halfway point! Which is to say that Alphabet Summer made it over the hump! Which is your favorite hump video between these two: Camel v. Unicorn ?